Every bow that is sold on the market is designed specifically to accommodate several factors such as arm length and draw length. Whether you are a beginner or a seasoned pro, knowing how to measure draw length is essential for proper archery shooting form. By the end of this tutorial, you will be able to successfully determine your proper draw length.
What is the bow draw length?
If you are just starting your journey as an archer, you might be frazzled to know “what should my bow draw length be?”
Simply put, draw length is measured in inches, and it’s a measurement of how far you pull back the bow. When you have a proper draw length, you will be able to shoot better and feel more comfortable at full draw.
Therefore, along with draw weight and arrow length, selecting proper draw length for bows is important for you to safely and effectively practice archery.
How do I know that my bow draw length is too short or long?

If you already have a bow and would like to know if its draw length is too long or too short for you, here are some common signs that could reflect that you have an incorrect draw length:
You lean back
If your draw length is too long or too short for you, you will tend to lean back. Your posture and form will not be proper in a ‘T’ alignment. With your alignment off, you will not be able to shoot accurately and efficiently.
Your arm muscles fatigue easily
If your draw length is too long or too short for you, it will be harder for you to engage your back muscles due to improper alignment. This not only decreases accuracy but also means that you have to engage your arm muscles much more. Therefore, you will find that your arm muscles fatigue easily.
Your bowstring will touch your face or chest
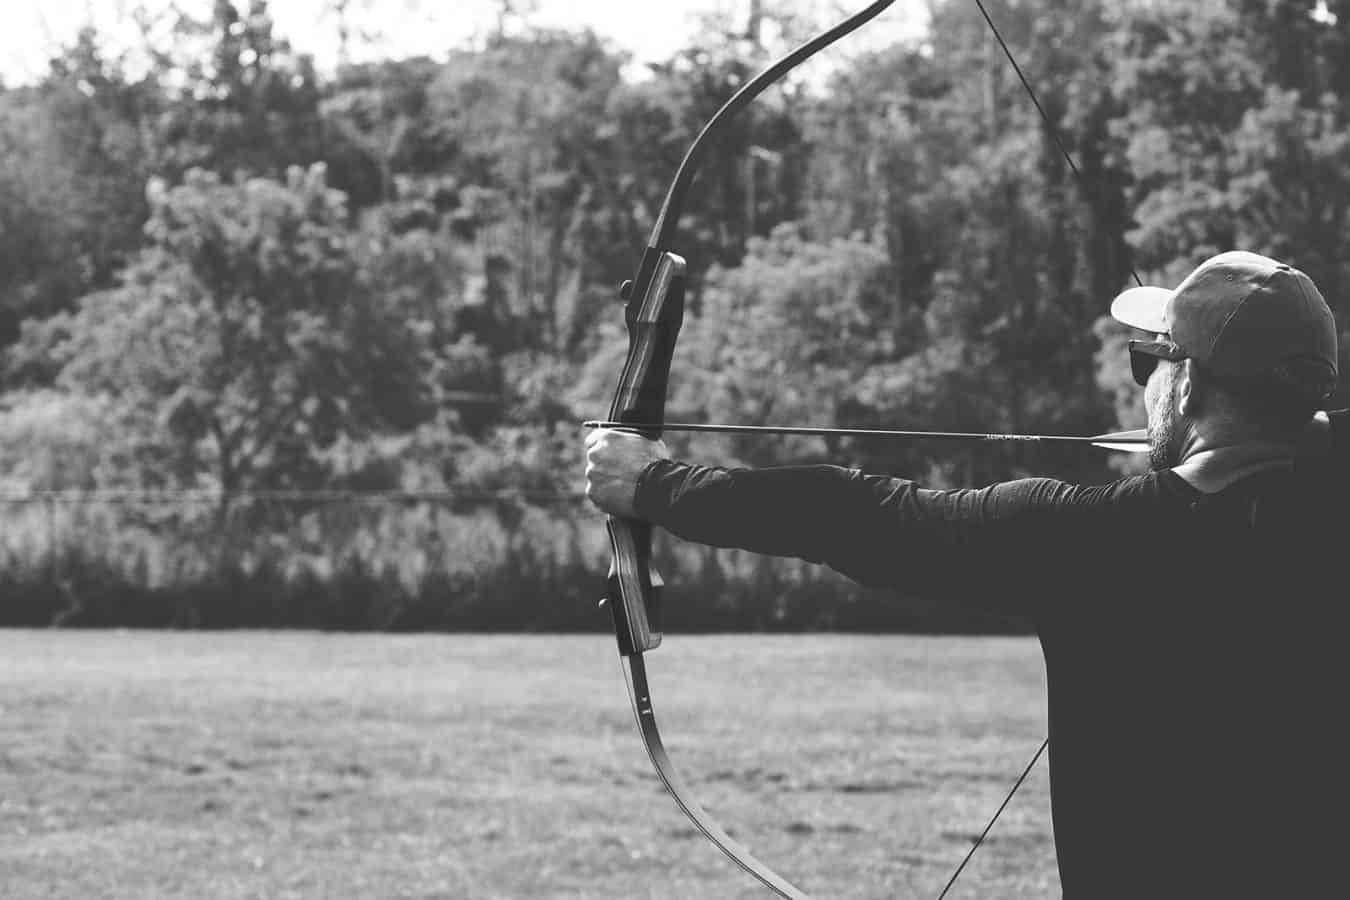
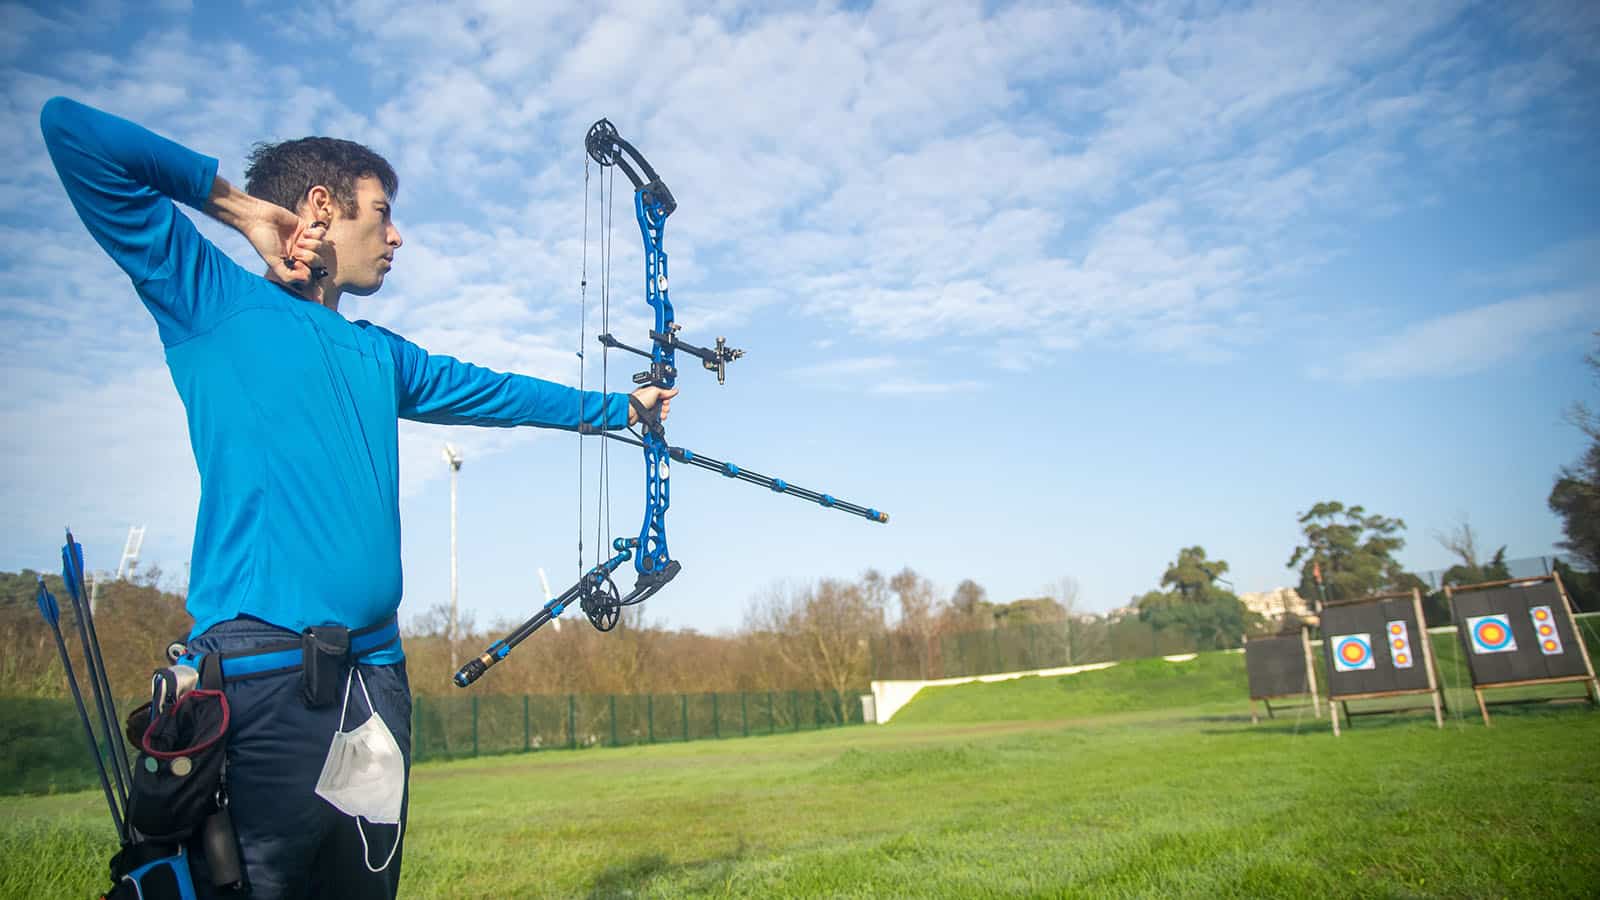
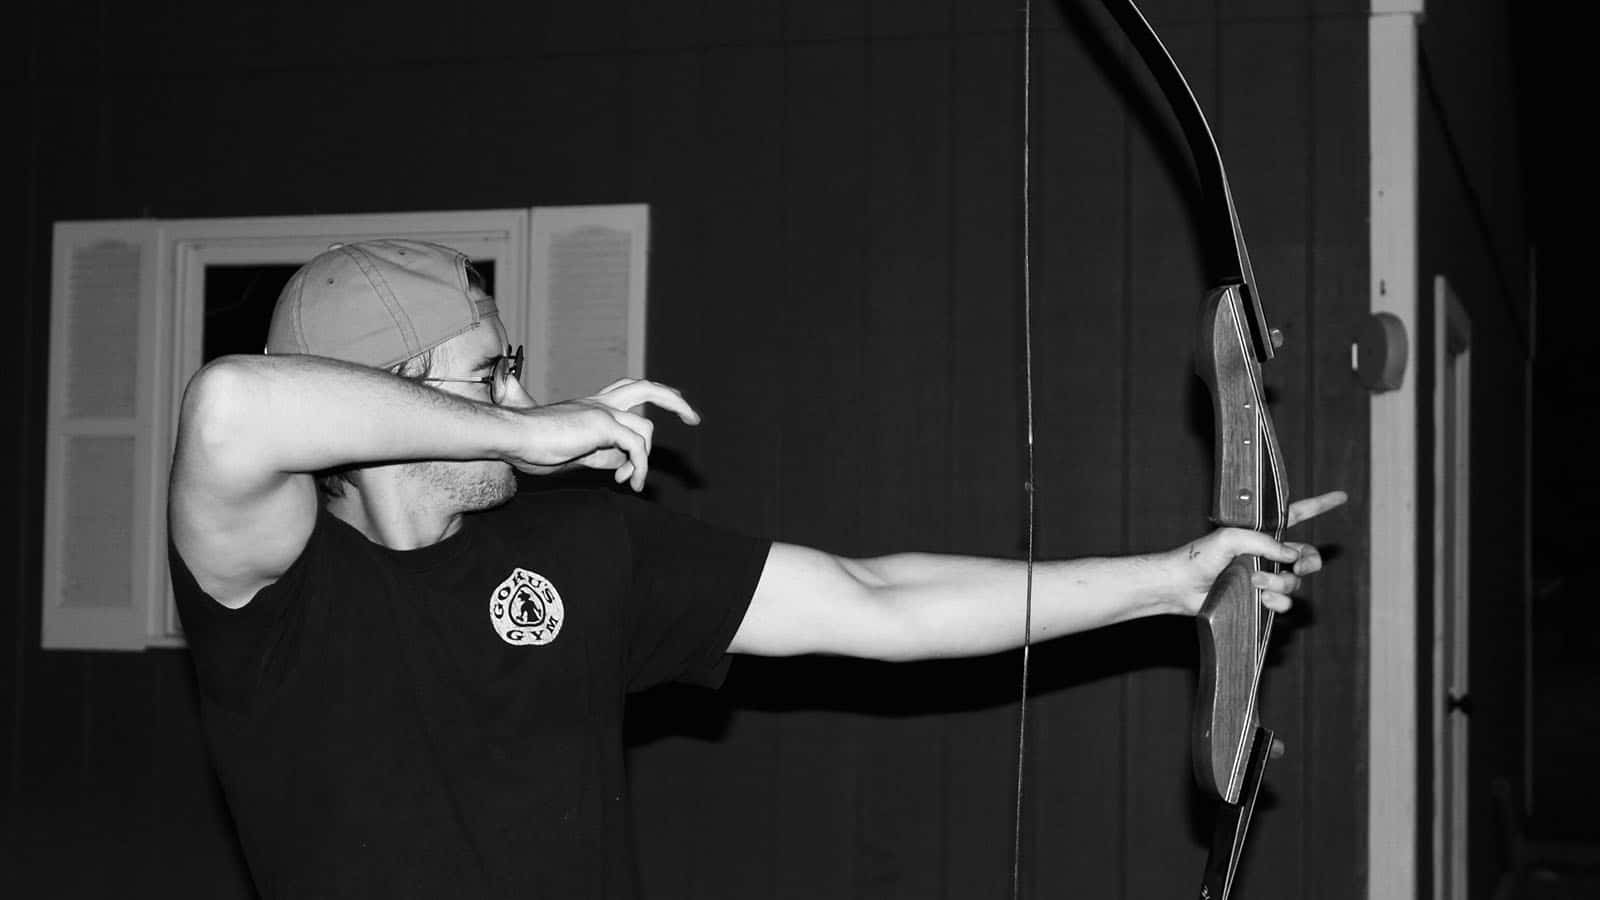
If you are using a bow with a proper draw length, the bowstring and anchor point should be at the corner of your lip. However, if your draw length is inaccurate, you will find that the bowstring or anchor point will be in contact with your face or chest. This could cause you to have a poor release, decreased accuracy, and therefore a poor shot.
What you will need for this tutorial
a. T’ Measure Method:
- A friend
- A flat wall or surface
- Pencil and/or duct tape
- Measuring tape
- Calculator
b. True Draw Length Method:
- A friend
- A bow
- A measuring tape
- Calculator
How to Measure Draw Length: Step-by-step Guide for ‘T’ Measure Method

This first method is the simplest way for you to determine your correct draw length. This quick and easy method is great for beginners to calculate compound bow draw length. It also works well for recurve bow users.
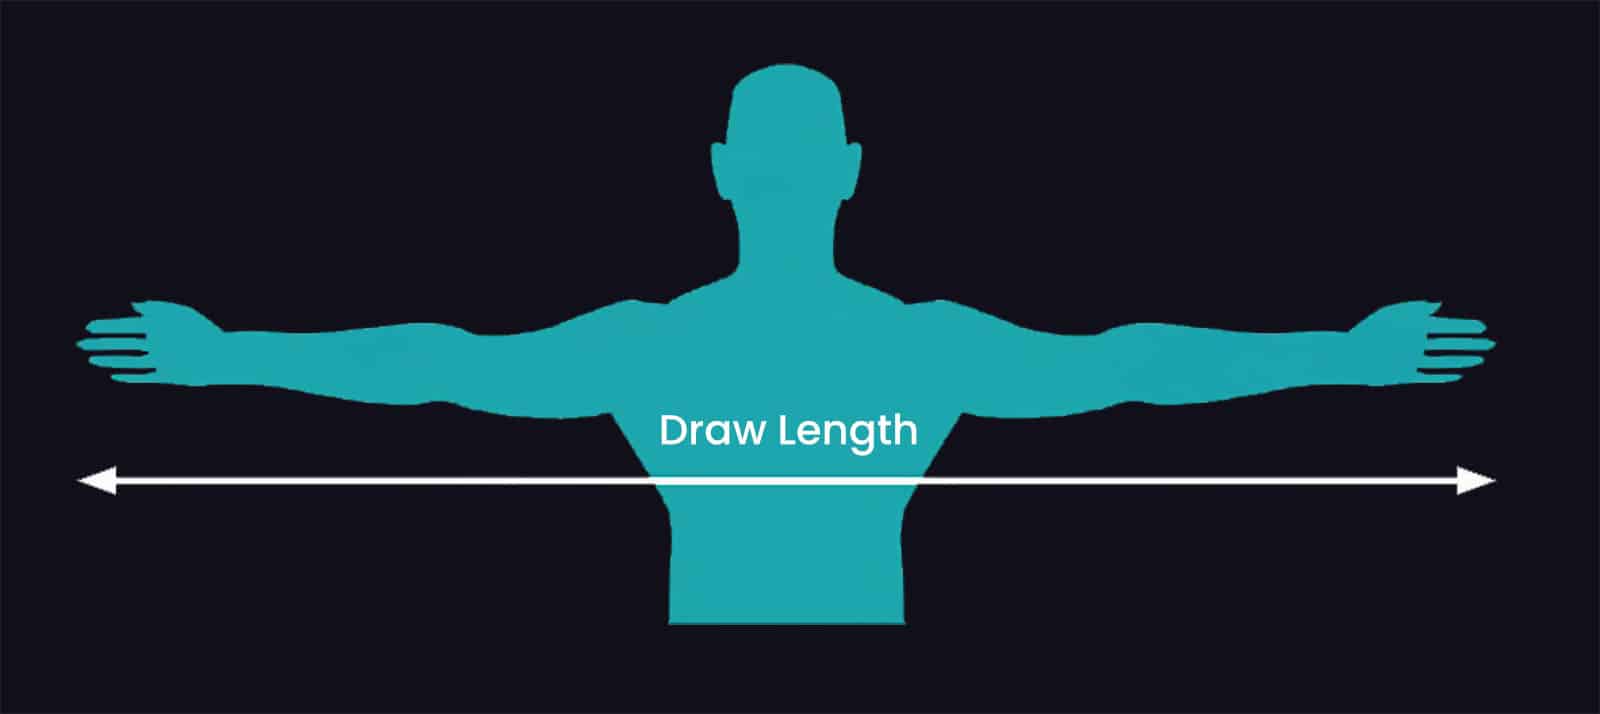
1. Stand against the wall like you are making a letter ‘T’
Find a flat, long wall, and lean against it. Then, stretch both your arms out to make a letter ‘T’. Make sure that you are standing up straight, that your shoulders are not scrunched up, or that your chest is overextended.
Keep in mind that you should be standing naturally and in a relaxed manner! If you overextend yourself, the accuracy of the measurement for your draw length will be compromised in the later step.
2. Have a friend mark out the length of your arm span
When you have assumed your ‘T’ position, get your friend to mark the location of each of the ends of your middle fingers at both sides of the wall. You could use a pencil to mark out the locations. Alternatively, if you want to avoid damaging your wall, you could use some duct tape to mark out both sides of the wall.
3. Record measurement for arm span
Measure the distance between the two duct tapes or pencil markings. This measurement shall be the length of your arm span.
4. Whip out your calculator
This next step involves a bow draw length formula that is widely used by archers to check draw length. With your arm span measurement that was determined in step 3 in mind, use a calculator to divide the value by 2.5. The value would be your calculated draw length.
If you are still confused and require an example, fret not! We are here to help. Assuming that after some help from your friend, you found out that your arm span is 50 inches. Then, your calculated draw length would be [50 inches / 2.5] = 20 inches.
How to Measure Draw Length: Step-by-step Guide for True Draw Length Method

This second method is based on the Archery Trade Association’s (ATA) measurement standards. According to ATA, draw length is the distance at the archer’s full draw, from the nocking point on the string to the pivot point of the bow grip plus 1 3/4 inches.
To find out how to calculate draw length using the ATA method, follow the steps below.
1. Draw a bow
Draw your bow to the proper anchor position. If you need help in finding your proper anchor point, we have a guide right here that may help.
If you prefer a video explanation of what a perfect archery form is, check out the video tutorial by Nock On Archery. In the video, it is also briefly described why it is important to determine your correct bow draw length.
2. Have a friend help to measure
When you have assumed your proper anchor position, have a friend help to measure from the nock groove to the pivot point, or the narrowest part of the bow grip. For reference, the nock grove is the part of the arrow that snaps on to the bowstring. Keep in mind that the portion of the nock that extends past the string should not be included in the measurement.
3. Whip out your calculator
Next, add 1 ¾ inches to the measurement that you obtained in step 2. The result is your draw length. So, assuming your friend measured a distance of 26 inches in step 2. Your draw length will thus be: 26 inches + 1 ¾ inches = 27 ¾ inches.
Conclusion
The question of how to find bow draw length is one that many archers often ask. We hope that you enjoyed this tutorial and that you have learned something from it. Remember, if you feel that a bow’s draw weight is important, a bow’s draw length is equally as important.
Even with the best bow in the market, you will not be able to shoot safely and accurately if you do not have one with a proper draw length. If you have any other tried-and-tested methods to measure draw length, let us know in the comments section below!
