Learning how to shoot a bow and arrow is one of the first things on a beginner archer’s mind. Knowing the proper way to shoot a bow will allow you to practice the sport safely and accurately. Besides, it will affect your enjoyment. With this tutorial, you will be able to successfully fire a bow.
Things you will need
A bow: There are many different brands of bows out there. Look for one that will suit your needs.
Arrows
Finger guard or gloves (optional): This is an optional item for you to protect your fingers from the bowstring.
A target: We recommend the Morrell Supreme Range Field Point Bag Archery Target as the best entry-level target. The archery bag target has enough weight that keeps it sturdy while in use. On top of that, it has a grommet hole that lets you hang the target wherever you set out to practice.
How to shoot a bow and arrow: Step-by-step guide

1. Ascertain eye dominance
Just as some people are left-handed while others are right-handed, we all have a dominant eye. Simply put, those who are right-eye dominant will focus on an object using our right eye, and those of us who are left-eye dominant will focus on objects using the left eye.
Being able to determine which is your dominant eye is important because it will affect the way you hold a bow and arrow to aim in the later steps.
2. Assume the proper stance
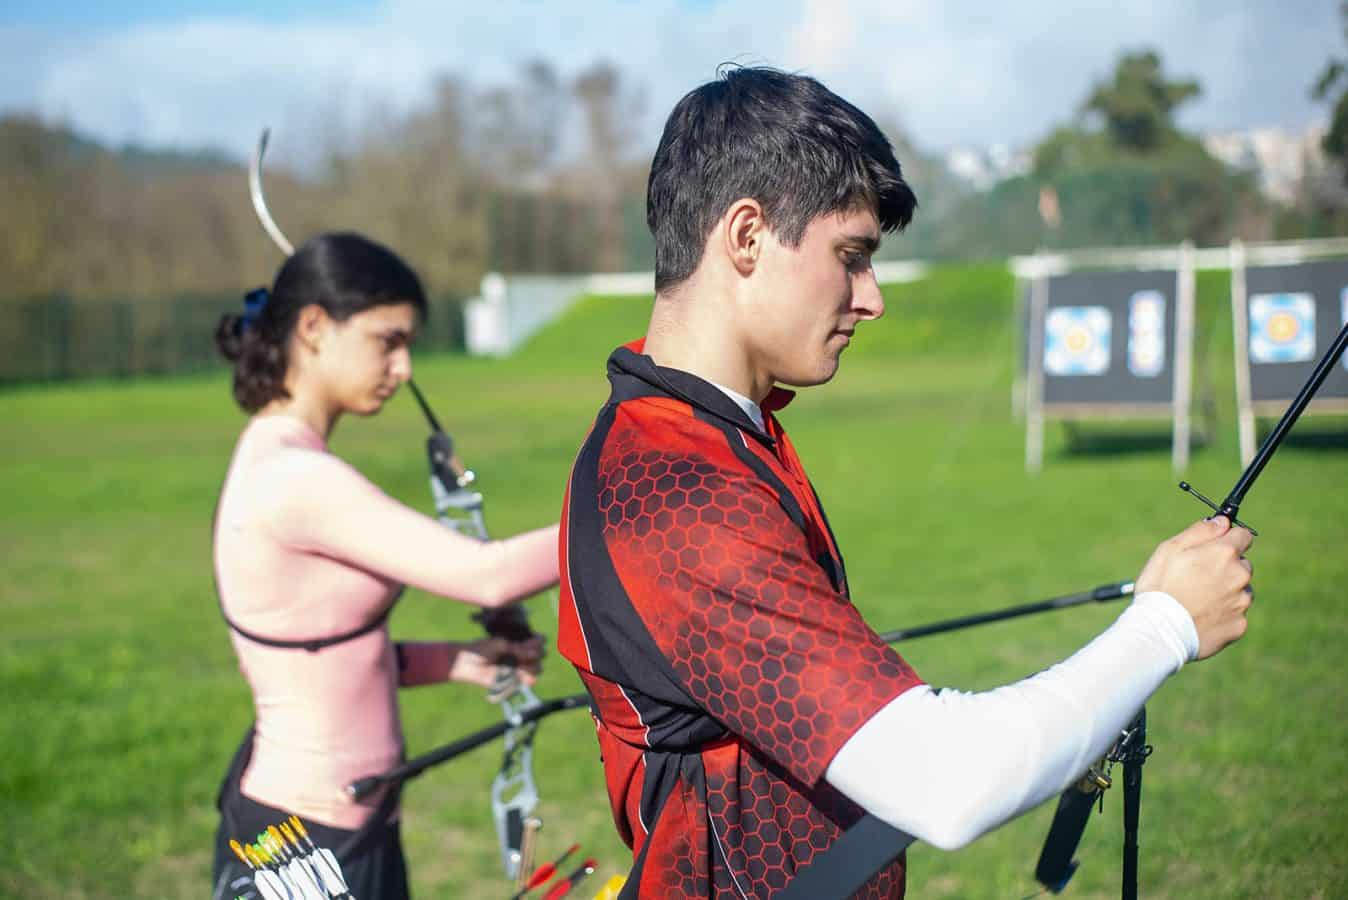
A proper stance should comprise a solid base, allow you to firmly draw the bow, and aim accurately. There are generally two stances that archers use for shooting a square stance and an open stance.
To assume a square stance, stand upright with your feet a shoulder-width apart. You should stand with your shoulders perpendicular to your target. Both your feet should be positioned parallel to the shooting line. If you are right-handed, your left foot will be your front foot. On the other hand, if you’re left-handed, your right foot will be your front foot.
With an open stance, you should similarly stand upright with your feet a shoulder-width apart. Likewise, your shoulders should be perpendicular to your target. However, unlike in a square stance, here, your lead foot should point towards the target.
If you are just starting, we recommend that you practice the square stance first. It allows for greater consistency as your feet are in the same place, every time.
3. Nocking the arrow
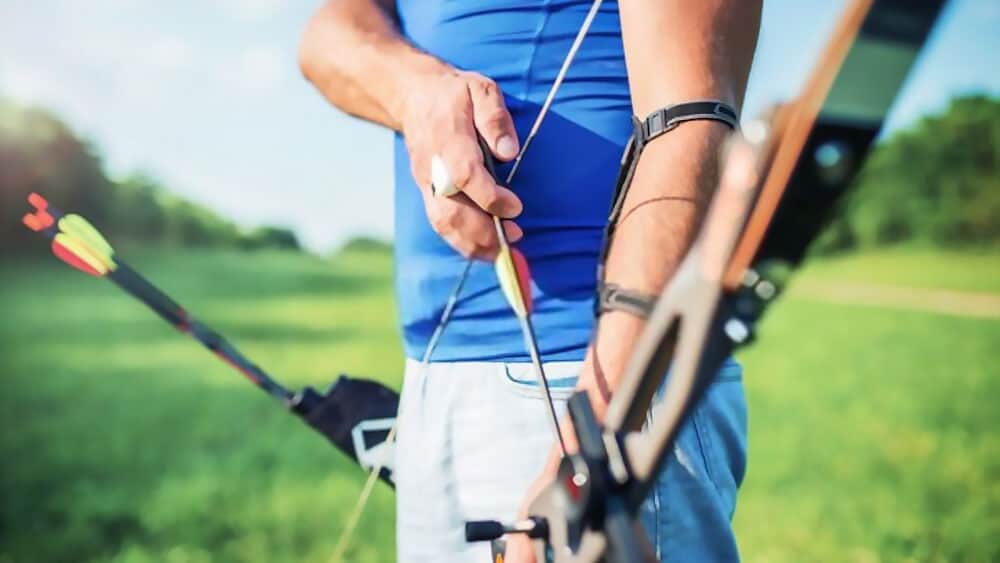
Next, place the arrow shaft on the arrow rest of your bow. Then, attach the arrow’s nock to the bowstring. Normally, a bowstring has 1 or 2 nock locators that indicate where the arrow should be placed. If your string only has one locator, nock your arrow beneath the bead. If it has two locators, nock the arrow between the two beads.
The most important part of this step is to make sure that you consistently nock your arrow at the same place each time you shoot.
4. Hold your bowstring

When it comes to gripping your bowstring, there are several methods to do so. For this tutorial, we will be focusing on the most beginner-friendly method: the Mediterranean grip.
In this method, you will be using your index, middle, and ring fingers to pull the bowstring back. The bowstring should rest in the groove of your top knuckles. The arrow’s nock should be between your index and middle finger.
For beginners, it may hurt to pull a bowstring with your bare fingers. Consider using a finger tab or wear a pair of gloves.
5. Point your bow with the proper bow grip

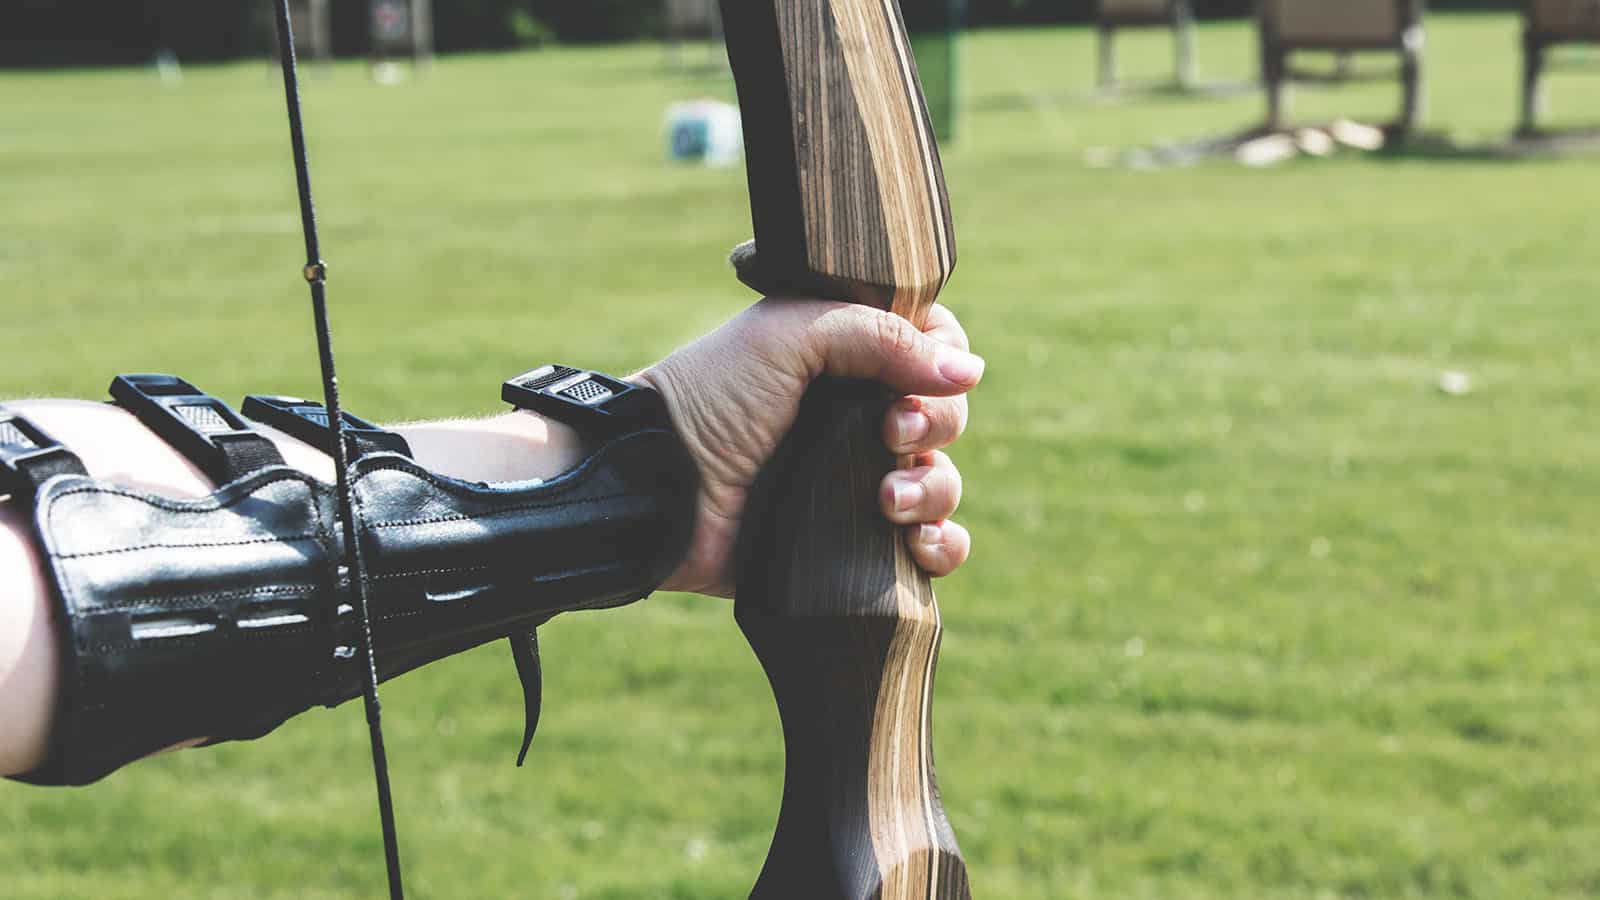
Many seasoned archers will tell you that the key to hold a bow and arrow is to relax. As beginners, many of us tend to grip tightly to our bow when we are learning how to aim a recurve bow. However, the proper way is gently to grip the bow.
Your fingers should be fully grasping the bow, but they should be placed lightly on the front of the bow. Your hand should be relaxed. When you grip on tightly to your bow, you ironically lose control, resulting in inaccurate shots when you shoot an arrow!
6. Point your bow with the proper bow arm
To ready your bow arm means to take note of the proper elbow alignment. Your inner elbow should be parallel to the ground and the bow should always remain vertical. Your shoulders should be relaxed.
7. Draw your bow
Many beginner archers have the misconception that arm strength is vital when you learn how to draw a bow and arrow. While it is undoubtedly true to a certain extent, using merely your arm strength may cause you to tire out much more easily. On top of that, it may cause you to under-draw a bow.
When drawing your bow, you should use your back muscles for strength. Let your arms stay as relaxed as possible. For reference, imagine clenching your shoulder blades together. For this step, you should try to draw the string as far back as possible.
Whether you shoot a traditional bow or intend to aim a longbow, this method of drawing a bow increases accuracy and dampens the effect of wind and gravity.
8. Determine your anchor point
An anchor point is a reference point on your face that you draw the string to ensure consistency in the way that you draw your bow each time. Your anchor point will be dependent on the type of bow that you use. Check out this great guide on how you can find your anchor point.
9. Aim
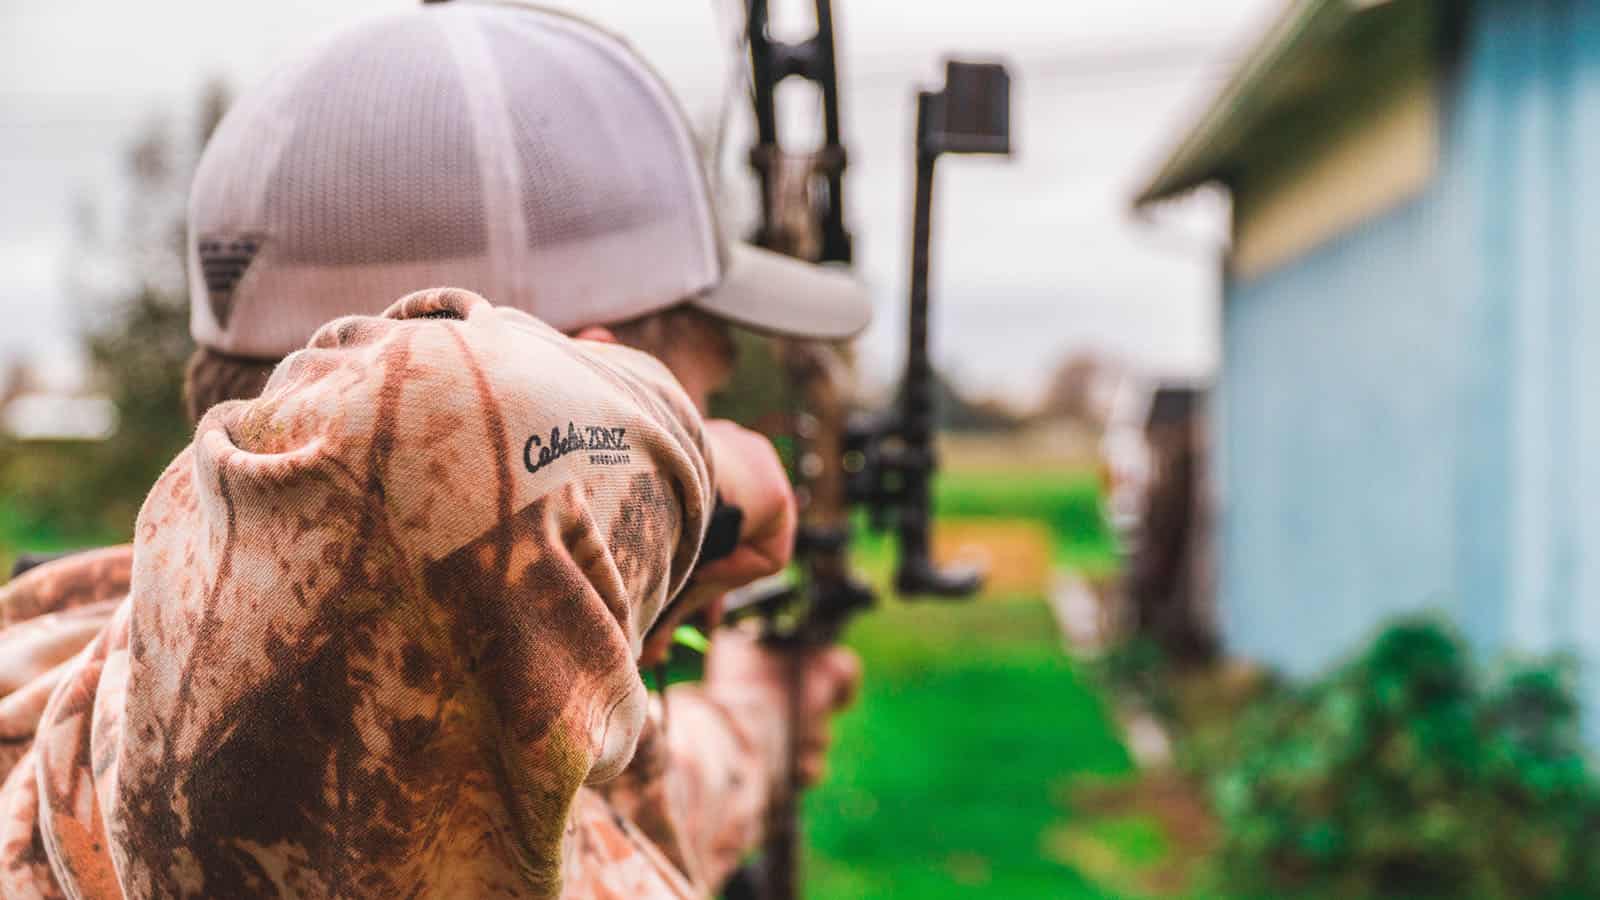
It is finally time to aim! Aim the point of your arrow at your target. Here, your dominant eye is the one that has to be lined up with the bowstring and arrow shaft.
10. Release your arrow

Relax your grip on the string and allow your fingers to slip backward. Remember to keep your bow arm steady. When you allow your fingers to slip backward, the bowstring will snap forward and your arrow will start to fly instantly.
It is this step that determines a good shot from a bad one. This is because how you choose to release your fingers from the bowstring will directly impact the arrow’s flight and speed.
Many archers tend to want to move the bow in the process of releasing an arrow. However, this will mess up your shot! Any slight movement or flinch of your fingers can cause it to fly out of course.
To make sure that you are shooting with the proper equipment efficiently and effectively, make sure you are shooting with the right arrow length. If you are unsure about how to determine your arrow length, be sure to check out our guide.
11. Stay still
As simple as this step sounds, many archers tend to forget it. After releasing the arrow, you have to stay still to follow through with your shot. Before you lower your bow, make sure your arrow has already reached the target.
12. Reflect and analyze
If you are serious about archery, you are going to want to review all of your shots to know what you did right, and where you can improve. Here, you want to ask yourself questions like “how was my stance?”, “Did I nock my arrow correctly?”, “Did I grasp my bowstring correctly?”, “Did I have a clean draw?” and so forth.
Based on the insights that you get from your review, keep practicing and improving with every shot!
For those who are still confused…
12 steps seem like a lot especially when we are just talking about the simple-looking action of shooting a bow and arrow. For those of you who are still confused, Men’s Journal does a great job in their video explaining and demonstrating the steps on how to shoot an arrow.
On top of that, the video sheds light on the common mistakes that archers tend to make when shooting an arrow. Whether you are just starting or have been shooting for a while, you will be able to learn something from this video.
Above all, keep in mind that everybody starts somewhere. It may all seem daunting at first, but you will be surprised at how quickly you would pick up the steps! Just remember to keep practicing!
Conclusion
Remember, learning how to shoot a bow and arrow is essential for accuracy and safety. Knowing the correct stance and the proper way to hold a bow and shoot an arrow will also allow you to experience archery more enjoyably!
We hope you enjoyed reading this guide as much as we enjoyed writing it! If you have other tried and tested tips and tricks that you would like to share with fellow archers out there, be sure to leave a comment below.